
Once again, here is the first drawing I did of the room:

Sadly, something happened to our computer so I lost the before pictures!!
I'll have to describe what the room was like; it had ugly, torn up linoleum flooring,
ugly dingy "white" walls, old machines, a very loud lighting fixture like you'd find in an office or
something and across the main wall above the machines was
one long (useless) metal shelf that looked like this one:

To begin, we removed the shelf, replaced the fan with a recessed light fixture and fan in one, and
added another recessed light. We also had to move around the plumbing to accommodate the new sink, move the light switch to the outside of the door and add a couple new outlets.
Thank God Sher is handy in all those areas and I have a nice Uncle in TX
who is a plumber, so we can call him up with any questions!
After all of that was done we started building the cabinetry.
They were built so quickly I didn't even have a chance to snap pics!
Here are a couple of the upper cabs:

the lower cab:
We put in some awesome drawer glides that won't bang shut no matter how hard
you try to bang them closed..~I LOVE THEMMM...

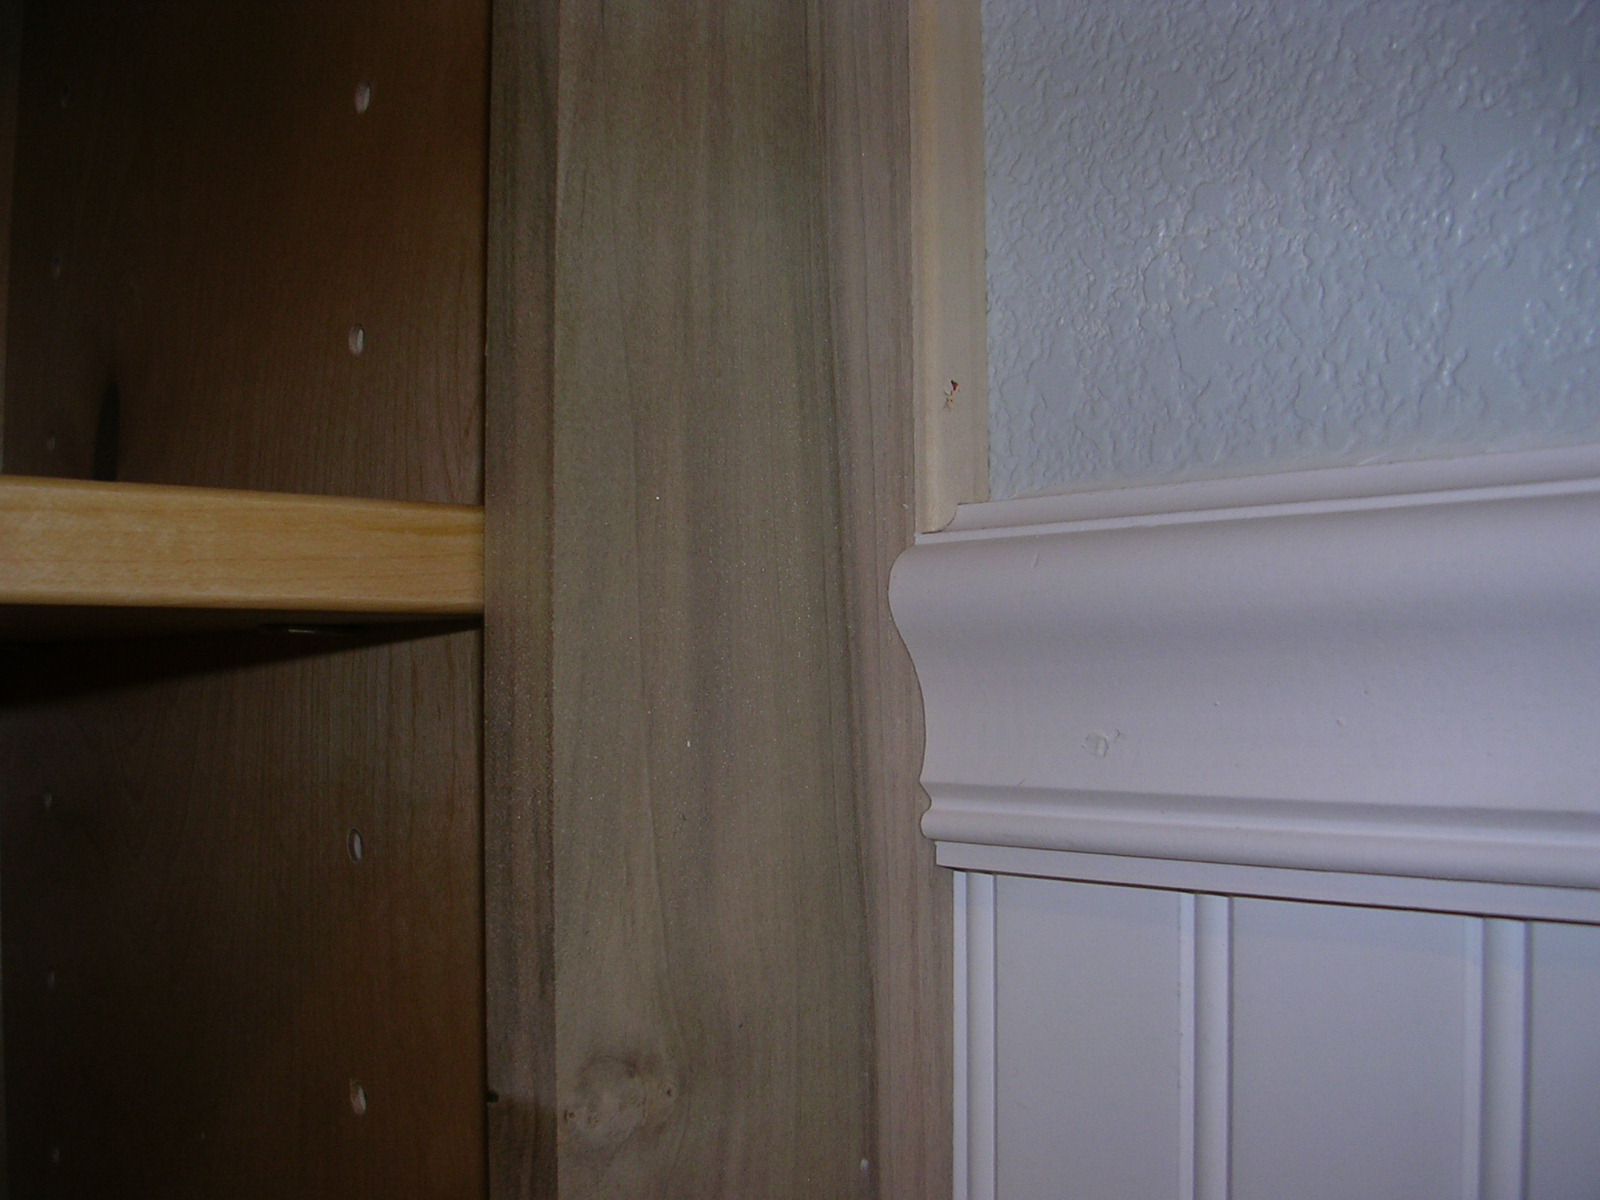
The part that took longer was us deciding on which inner profile to use on the doors.
I knew I wanted little arches for sure..we just had to find the right bit set in
order to get the profile we wanted.
Here they are:


While we were making those the flooring was curing..so up next was pulling out the
ugly linoleum flooring:

Then I painted the walls and we put up the bead board.


Next we hung the upper cabinets...
This part went a lot faster than I thought it would!


Adding crown moulding and a chair rail came next:


I had to show how good Sher cut the trim pieces!..
I was so impressed :0)
We then installed the lower cabinet:

..and finally it was time to lay the flooring..it was exciting to
see the results of all our hard work actually FINALLY coming together!


I really love how the flooring came out. It takes such a long time, but it's
very rewarding in the end.
Painting the cabinets took forever..we put 2 thinned out coats of primer with sanding
in between, and then 2 thinned out coats of paint with fine sanding
in between them as well. Then a little glaze over that...
We are very happy with the results, they are nice and smooth to the touch.

Next we added the hardware... and brought in my new machines! Then the granite guys come out, and after that we installed the sink! YAY!! A beautiful working sink in the laundry!!
The laundry room is right next to the workshop so having a great sink in there is a must
for us! It makes it so much easier to just run in there when
we need to clean up some yucky mess instead of running all the way across the house to
the kitchen!
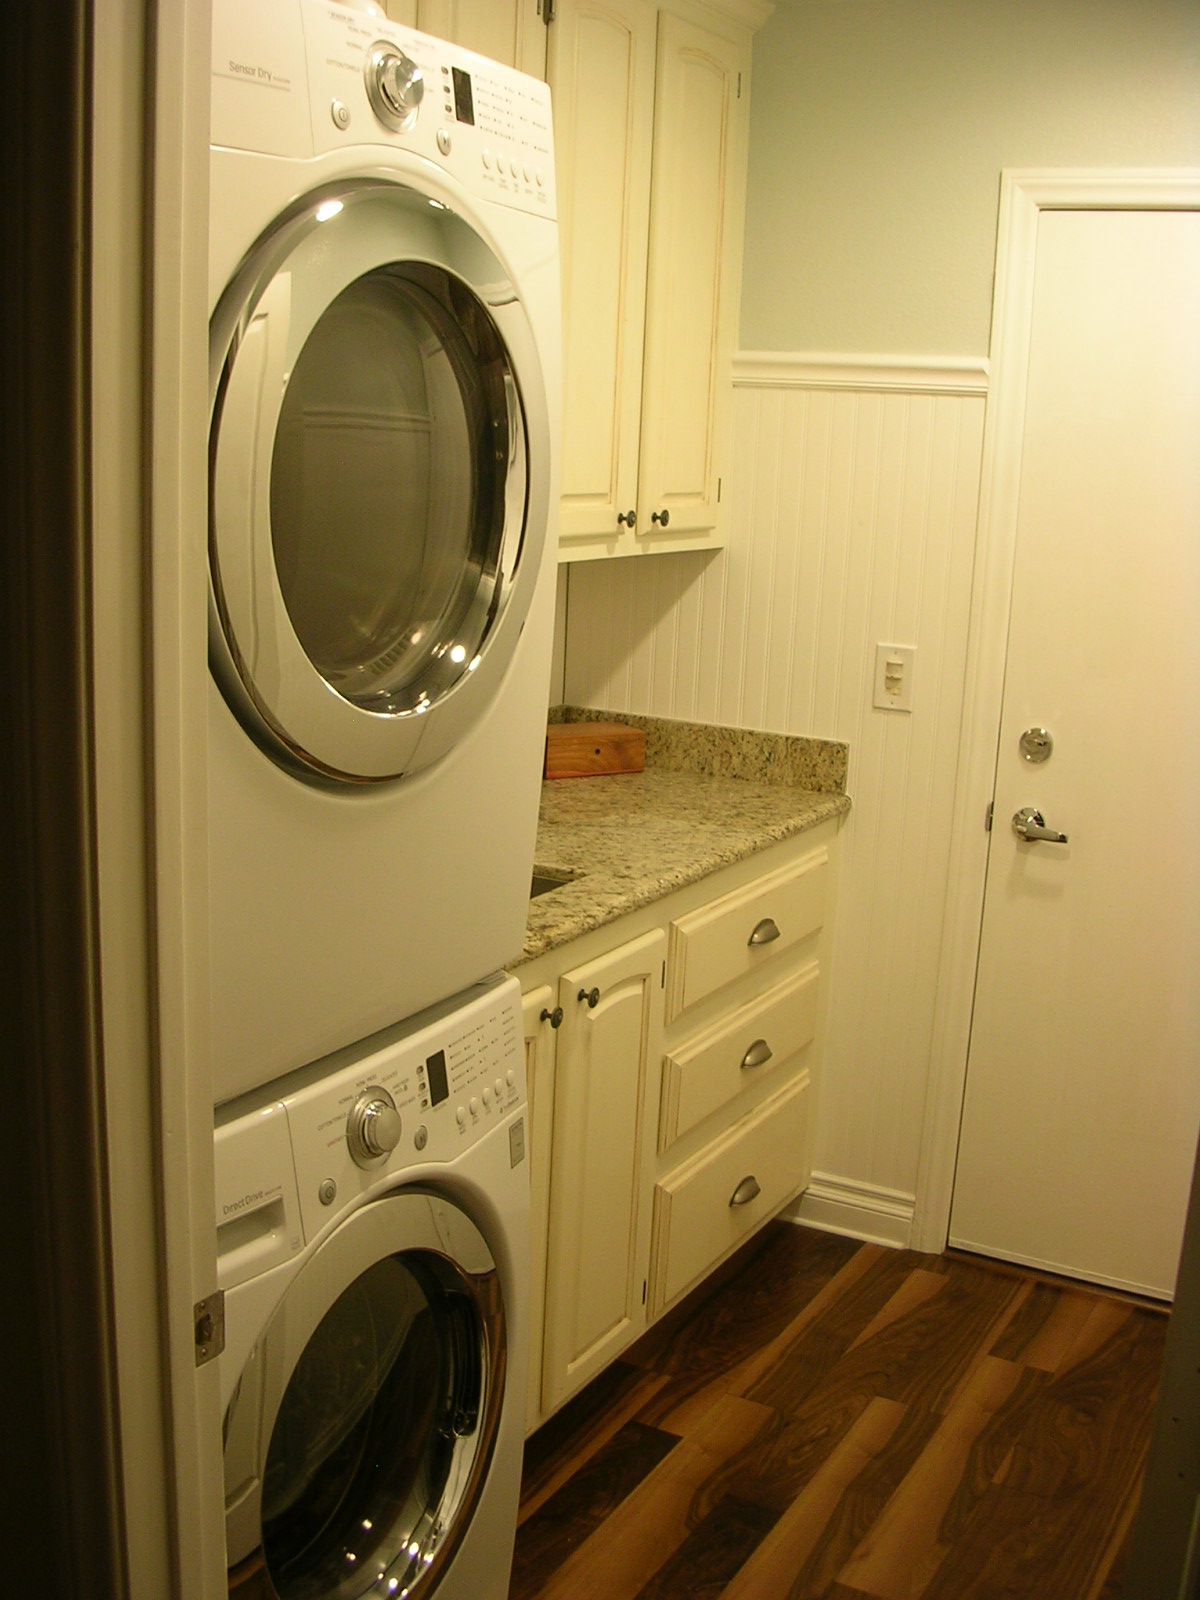
Finally...
Here are the final pictures.
It's hard to get a good shot because it's one of those rooms you walk through...

There are a couple things still left to do. I have to make a laundry sign just like the
one in the drawing, and we are thinking of possibly putting up a faux wall to hide the sides
of the machines.
~BUT~
For now that will have to wait, because we are already working on our next room,
which will include a piece of furniture that looks something like this:

Any idea what that might be???


