Showing posts with label DIY. Show all posts

Thursday, June 2, 2011

My Mora Trompe Loeil Clock

When Lindy from Cottage Hill posted about this fabulous idea to make a trompe loeil clock like the one she saw from Pier one, here, I totally fell in love with the idea and had to make one!!
We've been wanting to make a Mora clock for a long time but we just haven't gotten around to it yet..I love all of these styles of Mora clocks.


This project took me a while because Sophie slows down a lot of the projects around here, :0)  I 've been working on making our patio a lovely place to be and hang out in and we have always wanted a mora, so I thought it'd be the perfect spot for a fake mora! Using mdf and some trim pieces I made one for our outdoor living room :0) We are really blessed to have a large covered patio -which is a wonderful thing to have in Las Vegas. (pictures of that project coming soon)

The clock is around 6 1/2 ft tall, I drew it on a piece of 3/4" mdf and cut it out with a jigsaw. Sher helped me cut out the circle that the actual clock fits into and he used his router. I bought a cheap clock at big lots and painted it the way I wanted, then added some moulding we had left over to the bottom of the clock and used a round medallion trim piece that I had and cut a piece from to "crown" my mora. 

I don't have any "in progress" photos because once I finally have a chance to work on something I always forget the camera! I do have a couple pictures from the time I started to paint the clock though.
Here is the only photo I could find of the naked clock:

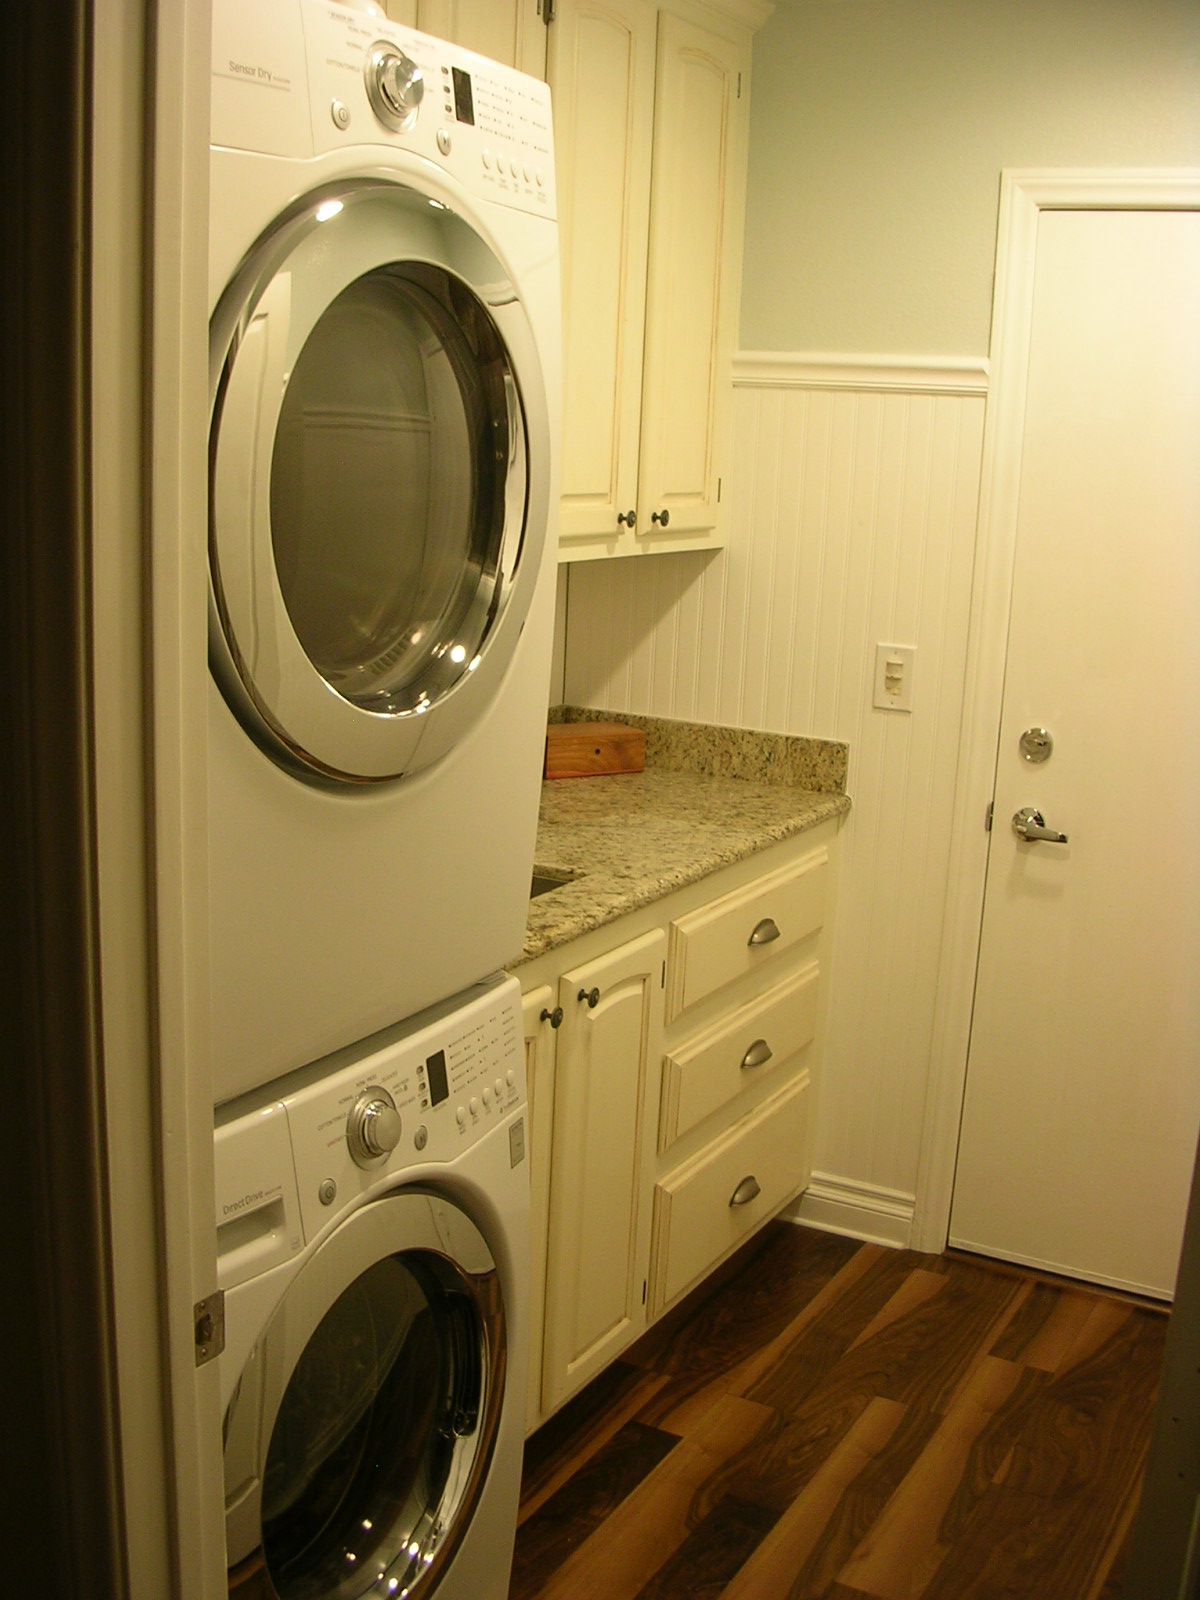
 I painted it with a blue green oops paint that I had in my paint cupboard, then I added a thick layer of elmers school glue and before the glue dries I put on a thick coat of off white paint I had left over from our laundry room re-do. As the layers dry they crackle and you can see a little of the blue color come through. Once that was dry I sanded a few of the areas and rubbed some mahogany  gel  stain that we had in the cabinet-I just used whatever I had on hand...


Pop in the clock face and voila! -You've got a mora clock!! :0)


Thanks so much for the inspiration Lindy!!


Wednesday, January 5, 2011

Sher's Mom's Room Makeover

I'm posting this a little late but promised I'd share it.
We found out in November that Sher's mom would finally be 
able to come to the US..all the paperwork was done..
but her room wasn't! LOL..

It was our "junk room" so miraculously with the help of my super talented sister Delilah 
and her crazy storage organization skills I was able
to get the room emptied out,
THANKS DELI!! Could not have don't that without you!!

So after that adventure we were left with the shell of the room we
called the "enchilada room" because of the (ugly)orange color it was painted.


Sher was so anxious to get started that he ripped out the chair rail and 
carpet before I could get pics!
(we had like 2.5 weeks to get it all done-including making the flooring!)
***
We then wired for a chandelier, gave the room a fresh coat of paint and decided to do the trim 
treatment we used in Sophie's room.


I don't have any pictures of the flooring install because I was entertaining Sophie during all of that!

Here are some photos of her finished room with walnut floors
and some curtains I sewed up. I added some artwork I painted a couple years ago,
some side tables and lamps.
...and voila -done in time! 

~ well almost, hehe...
...her mattresses arrived the day after she came in and
 I finished the curtains a few days after that..hehe


It was really important to us to have a nice room for her to come to,
so she could feel at home, comfortable and welcome.
I'm so thankful we finished on time!!
(Thanks God!)

We will be building her a bed eventually, it's on "the list," lol.
Next we will be working on a coffee table and dining table, then flooring for the 
living room and hall areas....slowly the beautiful wood floors are spreading
throughout the house.

Now that Christmas has passed though I'm constantly dreaming of the patio and backyard
 and everything I'd like to do there...*sigh* it's on the list. :0)

Now just because I am so in love with this little one, here are a few pics of
Sophie ( my little baldy), she will already be 4 months old in 9 days! ..Time flies..


I hope everyone is having a beautiful new year!
God bless you all, and thanks for dropping by!

Thursday, August 5, 2010

French Barometer

So...I LOVE french baramoters
but I can not afford one right now...

so what's a girl to do?...
get creative, of course!

I found this barometer (in french) on ebay.
I'm not sure if it works, lol, but that's ok.

I hung onto it while I searched for something I liked to put it in, 
finally I found this clock -on ebay as well.


It had paint splatted on it and a lot of the gold had
been rubbed off over time, so I added a little more gold
-using this cool stuff:


Next, I popped out the barometer piece from it's wooden frame,
and removed the clock from it's "frame".

...and then married the two together!
 Here we are:
My version of a barometer

Hopefully it will hold me over until I can get a real one :0)
I'm happy with how it came out and it only costed around
$25.oo!


Me and baby have made it to 32 weeks today!
I still can't believe it. We are excited and I am also nervous about
the whole delivery part! LOL -I know it will be fine-bc it has to be,
but I am still nervous. :0)


Wednesday, July 28, 2010

Chair Facelift

With Sophie's arrival getting closer everyday,
I've been trying to finish up some projects around here.

Remember these chairs I bought last year for $35.oo each?

Well, I FINALLY got around to re-upholstering them!

I actually started taking one of the chairs apart earlier this year,
but took forever to get the fabric off carefully to use the pieces 
 as patterns for the new fabric.

Taking the fabric off the second one was A LOT easier, haha.

So here we go, the before and after of my $35.oo chairs:

Front Before:

Front After:

Back Before:

Back After:

I am really happy with how they came out :0)
The wood design on the backs really pop now, and the lighter fabric brightens up 
my dark living room too!

I recently ordered 2 of these and they should be arriving tomorrow!


The bright pink totally doesn't go with what's going on in Sophie's room
so I will be recovering them in this outdoor fabric.


I can't wait to get these cute little chairs and recover them!
Hopefully since they are small the job will be done quicker!


Tuesday, April 27, 2010

~Our Laundry Room~


Once again, here is the first drawing I did of the room:

Sadly, something happened to our computer so I lost the before pictures!!
I'll have to describe what the room was like; it had ugly, torn up linoleum flooring,
ugly dingy "white" walls, old machines, a very loud lighting fixture like you'd find in an office or 
something and across the main wall above the machines was
one long (useless) metal shelf that looked like this one:


To begin, we removed the shelf, replaced the fan with a recessed light fixture and fan in one, and
added another recessed light. We also had to move around the plumbing to accommodate the new sink, move the light switch to the outside of the door and add a couple new outlets. 
Thank God Sher is handy in all those areas and I have a nice Uncle in TX
 who is a plumber, so we can call him up with any questions!

After all of that was done we started building the cabinetry.
They were built so quickly I didn't even have a chance to snap pics!

Here are a couple of the upper cabs:
 the lower cab:
We put in some awesome drawer glides that won't bang shut no matter how hard 
you try to bang them closed..~I LOVE THEMMM... 

The part that took longer was us deciding on which inner profile to use on the doors.
I knew I wanted little arches for sure..we just had to find the right bit set in
order to get the profile we wanted.

Here they are:


While we were making those the flooring was curing..so up next was pulling out the 
ugly linoleum flooring:


Then I painted the walls and we put up the bead board.


Next we hung the upper cabinets...
This part went a lot faster than I thought it would!


Adding crown moulding and a chair rail came next:


I had to show how good Sher cut the trim pieces!..
I was so impressed :0)

We then installed the lower cabinet:

..and finally it was time to lay the flooring..it was exciting to
see the results of all our hard work actually FINALLY coming together!


I really love how the flooring came out. It takes such a long time, but it's
very rewarding in the end.

Painting the cabinets took forever..we put 2 thinned out coats of primer with sanding
in between, and then  2 thinned out coats of paint with fine sanding
in between them as well. Then a little glaze over that...
We are very happy with the results, they are nice and smooth to the touch.

Next we added the hardware... and brought in my new machines! Then the granite guys come out, and after that we installed the sink! YAY!! A beautiful working sink in the laundry!!

The laundry room is right next to the workshop so having a great sink in there is a must
 for us! It makes it so much easier to just run in there when
we need to clean up some yucky mess instead of running all the way across the house to
the kitchen!

Finally...
Here are the final pictures.
It's hard to get a good shot because it's one of those rooms you walk through...


There are a couple things still left to do. I have to make a laundry sign just like the
one in the drawing, and we are thinking of possibly putting up a faux wall to hide the sides
of the machines.

~BUT~
For now that will have to wait, because we are already working on our next room,
which will include a piece of furniture that looks something like this:

Any idea what that might be???